Introduction
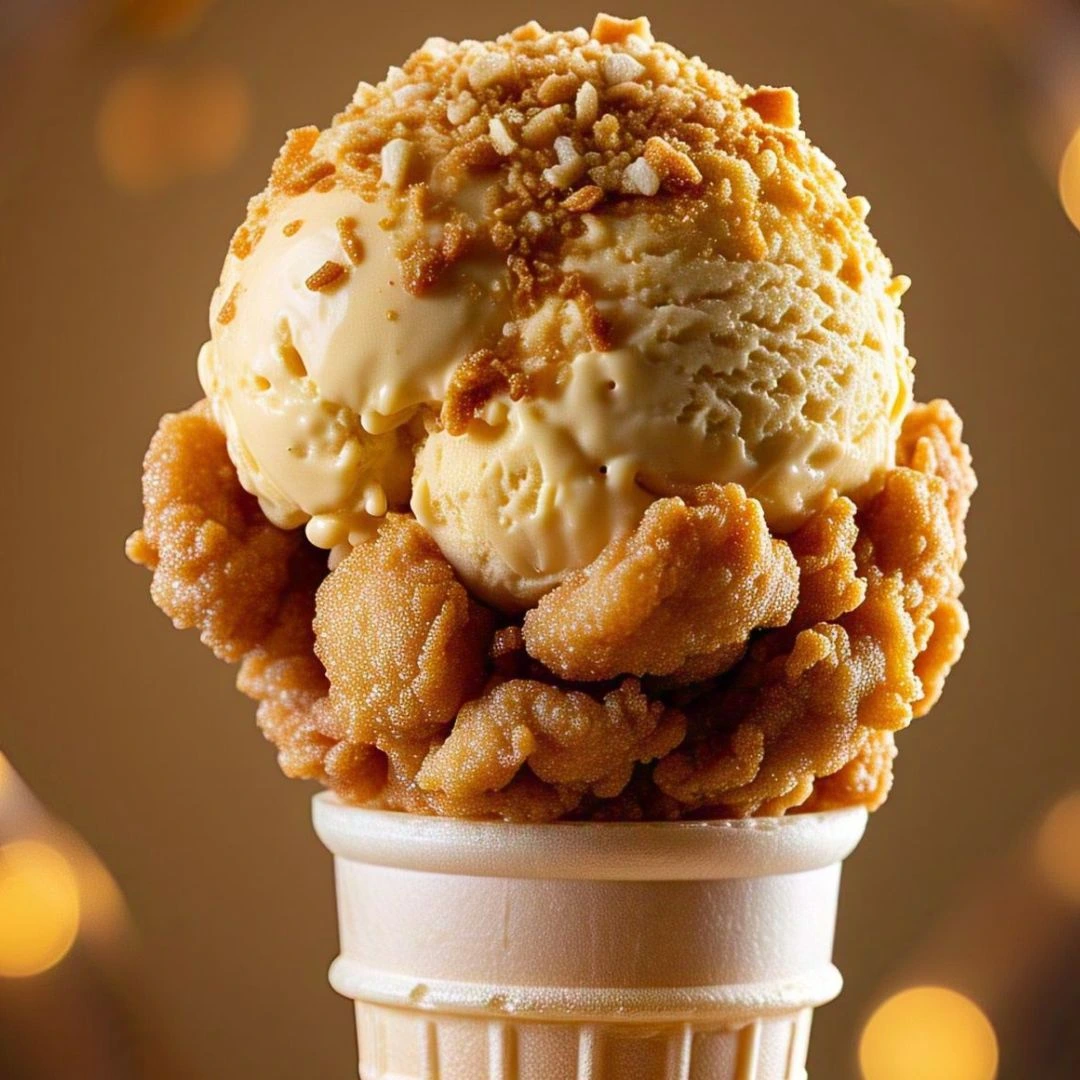
Imagine biting into what looks like a fried chicken drumstick, only to find out it’s actually a scoop of ice cream! This is the magic behind Not Fried Chicken Ice Cream Recipe – a dessert that’s taking the food world by storm. What makes it so unique? It’s not just the unexpected appearance; it’s the perfect combination of crispy and creamy textures that makes every bite a surprising treat.
This dessert has gone viral for its ability to blend the savory look of fried chicken with the sweet indulgence of ice cream. The crispy coating mimics the crunch of fried chicken, while the cold, creamy interior gives you that classic ice cream sensation. It’s the perfect fusion of comfort food and novelty that’s making it a must-try for dessert lovers everywhere!
What Is Not Fried Chicken Ice Cream Recipe?
The Origin of This Viral Dessert
The Not Fried Chicken Ice Cream Recipe is a unique dessert that looks like a crispy fried chicken drumstick. However, beneath its golden-brown coating, it hides a sweet and creamy ice cream center.
Chef Cynthia Wong, the founder of Life Raft Treats, created this treat in South Carolina. She wanted to push the limits of traditional ice cream and make something fun. Her creation quickly went viral on social media. Food bloggers, influencers, and dessert lovers admired its realistic look.
The concept of illusion foods has existed for a long time, but this one grabbed attention. Its lifelike appearance and surprising taste contrast made it a hit. Viral TikTok videos, food magazines, and TV segments introduced it to a wide audience.
Now, the dessert continues to trend as more people try making their own versions.
Why It Looks Like Fried Chicken but Is Actually Ice Cream (Not Fried Chicken Ice Cream Recipe)
At first glance, Not Fried Chicken Ice Cream looks exactly like a crispy fried chicken drumstick. However, it’s actually a clever dessert made entirely from sweet ingredients. The secret lies in its realistic texture and coating.
To create the “chicken meat” illusion, the process begins with molding a scoop of ice cream around a small pretzel stick or chocolate-covered biscuit, which mimics a bone. Then, after freezing, melted white chocolate coats the ice cream, helping the crispy outer layer stick properly.
Next, crushed cornflakes or waffle cone crumbs form the crunchy coating, making it look just like fried chicken skin. Once frozen, the dessert appears shockingly real. As a result, the contrast between its crispy exterior and creamy inside surprises anyone who takes a bite.
Popularity in Social Media and Food Trends (Not Fried Chicken Ice Cream Recipe)
In recent years, Not Fried Chicken Ice Cream has taken social media by storm. Its shockingly realistic appearance and unexpected sweetness make it a perfect viral sensation. Platforms like TikTok, Instagram, and YouTube are filled with videos of people reacting to this mind-blowing dessert. Many food influencers and bloggers have shared their own versions, further fueling its popularity.
Beyond social media, this dessert has also made waves in the food industry. High-end ice cream shops and specialty dessert makers have added it to their menus, attracting curious customers eager to try it. Additionally, illusion foods—desserts that look like savory dishes—have become a growing trend, with chefs and home bakers experimenting with new creative recipes.
As the trend continues, more people are trying to recreate this dessert at home. Whether for a fun challenge, a party trick, or just to impress friends, Not Fried Chicken Ice Cream has secured its place as one of the most talked-about novelty treats.
Ingredients You Need for Not Fried Chicken Ice Cream Recipe
Ice Cream Flavor Options (Vanilla, Chocolate, etc.)
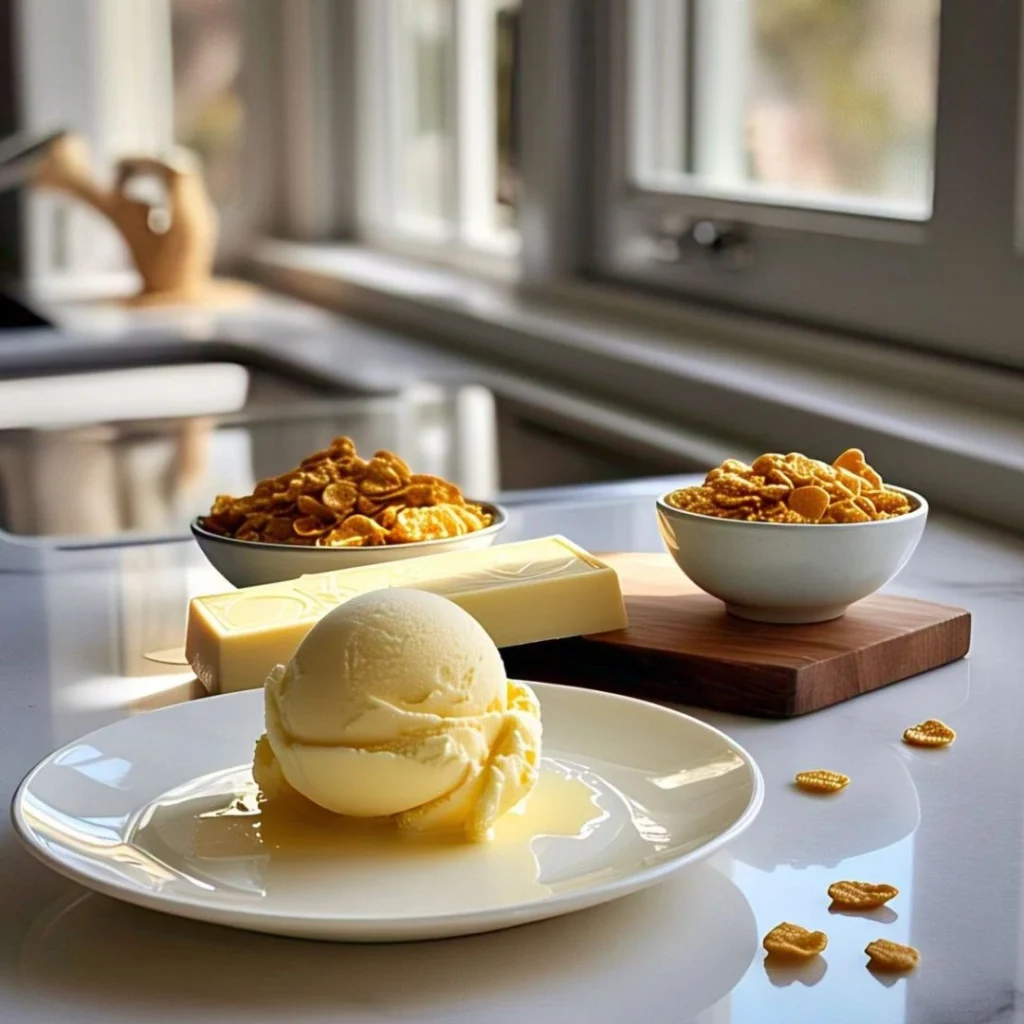
Choosing the right ice cream flavor is key to making Not Fried Chicken Ice Cream both delicious and visually convincing. While vanilla is the most popular choice because it resembles the light color of chicken meat, there are plenty of other flavors to explore.
- Classic Vanilla: The most common option, vanilla provides a neutral base that looks realistic and pairs well with the crunchy coating.
- Chocolate or Cookies and Cream: These flavors add a richer taste but may slightly alter the appearance. However, they work well if you want a fun twist.
- Strawberry or Caramel Swirl: A swirl of caramel or strawberry creates a marbled effect inside, making each bite more flavorful.
- Dairy-Free Alternatives: Coconut milk or almond-based ice creams are great options for those avoiding dairy while still enjoying a creamy texture.
Ultimately, the choice depends on your preference. Whether you stick to vanilla for realism or experiment with bolder flavors, the result will be a delightful surprise!
Crispy Coating Ingredients (Cornflakes, White Chocolate, etc.)
The crispy coating is what makes Not Fried Chicken Ice Cream so convincing. It mimics the fried chicken skin, giving the dessert its crunch and texture. Here are the key ingredients that bring this illusion to life:
- Cornflakes: Crushed cornflakes are the classic choice for the crispy exterior. Their light, crunchy texture creates a realistic “fried” look when coated on the ice cream. For an extra touch, you can toast them lightly for a golden hue.
- White Chocolate: This provides the “glue” that helps the cornflakes stick to the ice cream. When melted, white chocolate coats the ice cream evenly and adds a creamy sweetness that contrasts with the crunch.
- Waffle Cone Crumbs: For a more subtle flavor, crushed waffle cones offer both texture and a sweet, slightly nutty taste. They can be mixed with cornflakes or used on their own for a unique twist.
- Crushed Nuts (Optional): Some people add chopped almonds, pistachios, or even cashews to the coating for an added crunch and flavor.
- Sugar or Honey: A light drizzle of sugar or honey over the coating can enhance the sweetness and help achieve a more caramelized effect after freezing.
These ingredients come together to create a deliciously crispy exterior that makes the ice cream look and feel like fried chicken. You can mix and match based on your preferences for extra flavor or crunch!
Tools and Equipment (Ice Cream Scoop, Freezer, etc.)
To make Not Fried Chicken Ice Cream, you’ll need a few essential tools. Here’s what you’ll need:
- Ice Cream Scoop: This helps shape the ice cream into drumsticks. It makes it easier to mold the ice cream around the “bone” (pretzel stick or chocolate-covered biscuit).
- Freezer: A reliable freezer is crucial. It helps firm the ice cream while you work with it and keeps the coating from melting.
- Baking Sheet or Tray: Line a flat tray with parchment paper. This keeps the ice cream from sticking while it freezes.
- Plastic Wrap or Wax Paper: Wrap the ice cream drumsticks in plastic wrap or wax paper before freezing. This helps maintain their shape.
- Double Boiler or Microwave (for Melting Chocolate): A double boiler helps melt chocolate smoothly. You can also use a microwave, but heat the chocolate in short bursts to avoid burning.
- Mixing Bowl (for Cornflakes): Use a large bowl to mix the crushed cornflakes or waffle cone crumbs. This makes it easier to coat the ice cream.
- Tongs or Fork (for Dipping): Use tongs or a fork to dip the ice cream into the melted chocolate. This avoids melting the ice cream with your hands.
These tools will make the process easier and ensure your dessert looks perfect.
Step-by-Step Guide to Making Not Fried Chicken Ice Cream Recipe
Step 1: Shape the Ice Cream into Drumsticks
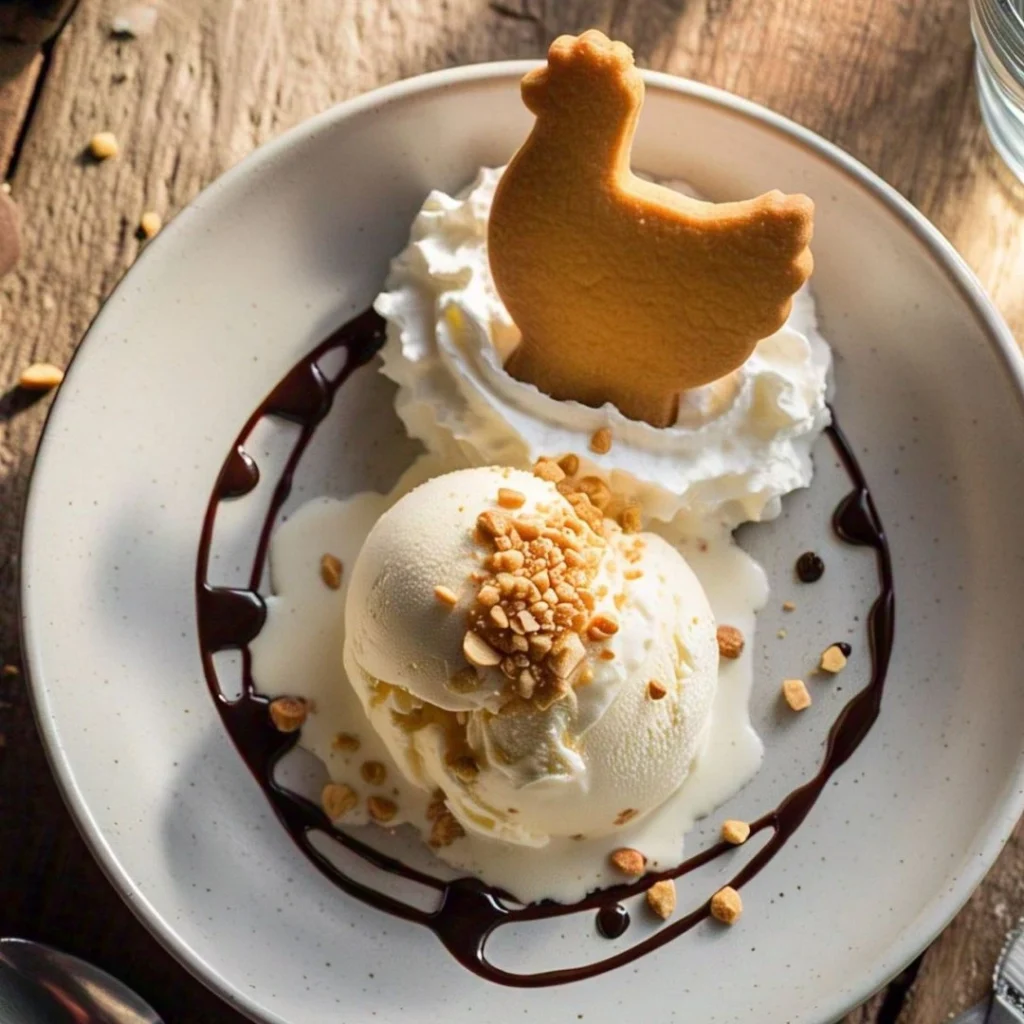
Start by scooping out your ice cream. Use an ice cream scoop to create a ball. Then, shape the ice cream into a drumstick-like form using your hands or a spoon.
To mimic the bone, insert a pretzel stick or a chocolate-covered biscuit into the center of the ice cream. Gently press it in so it stays in place.
Once shaped, place the drumsticks on a baking sheet lined with parchment paper. Freeze them for at least 30 minutes or until firm.
This step helps create the right base for the crispy coating.
Step 2: Coat with Chocolate and Crushed Cornflakes
Once the ice cream drumsticks are firm, melt the white chocolate in a double boiler or microwave. Stir until smooth and melted.
Next, crush the cornflakes into small pieces. You can use a plastic bag and a rolling pin or crush them by hand.
Dip each ice cream drumstick into the melted chocolate, making sure it’s completely coated. Then, roll the chocolate-covered ice cream in the crushed cornflakes. Press gently to ensure the cornflakes stick well.
Place the coated drumsticks back onto the parchment-lined tray. Freeze again for at least an hour to set the coating.
This step creates the crispy, fried chicken-like texture.
Step 3: Freeze and Serve for the Best Texture
After coating the ice cream drumsticks in chocolate and cornflakes, place them back in the freezer. Freeze them for at least 1 to 2 hours to ensure they set properly.
The longer you freeze them, the firmer the ice cream will be, giving it a perfect texture when you bite into it.
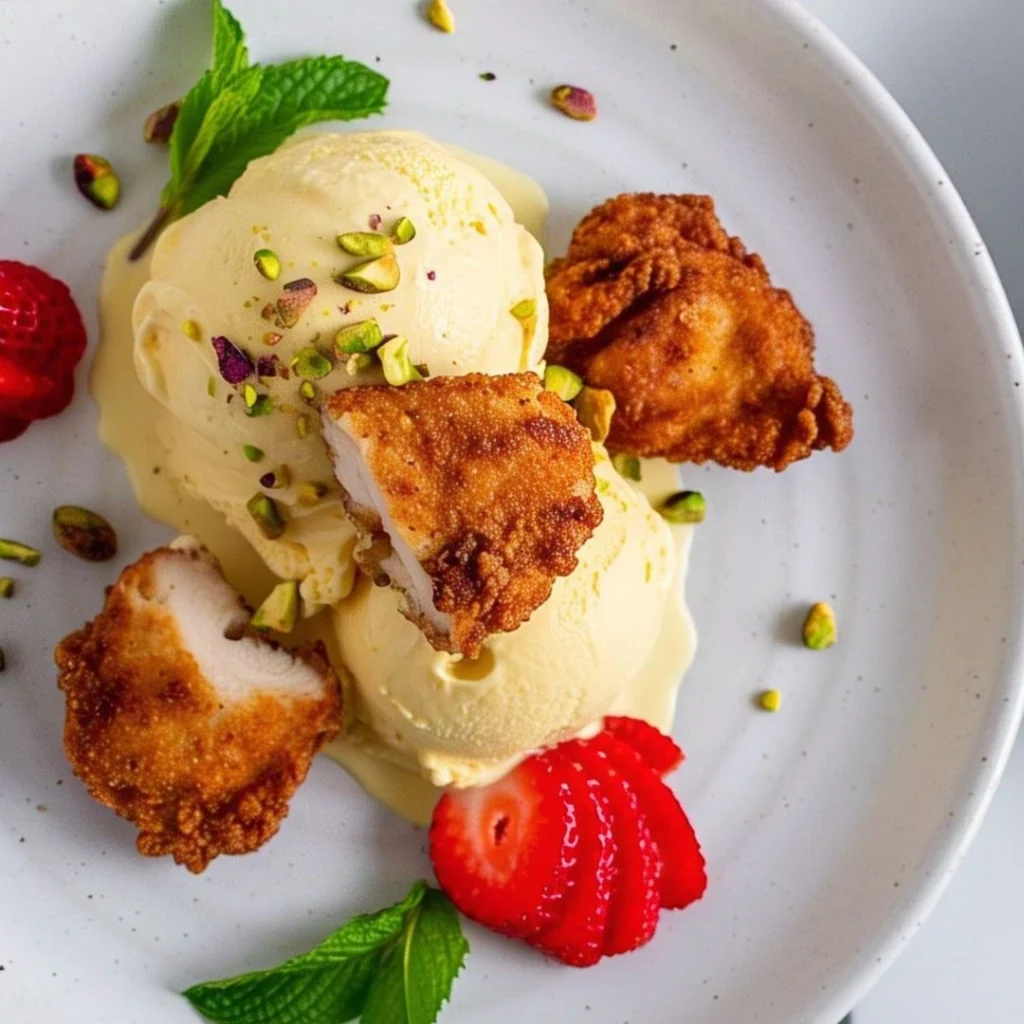
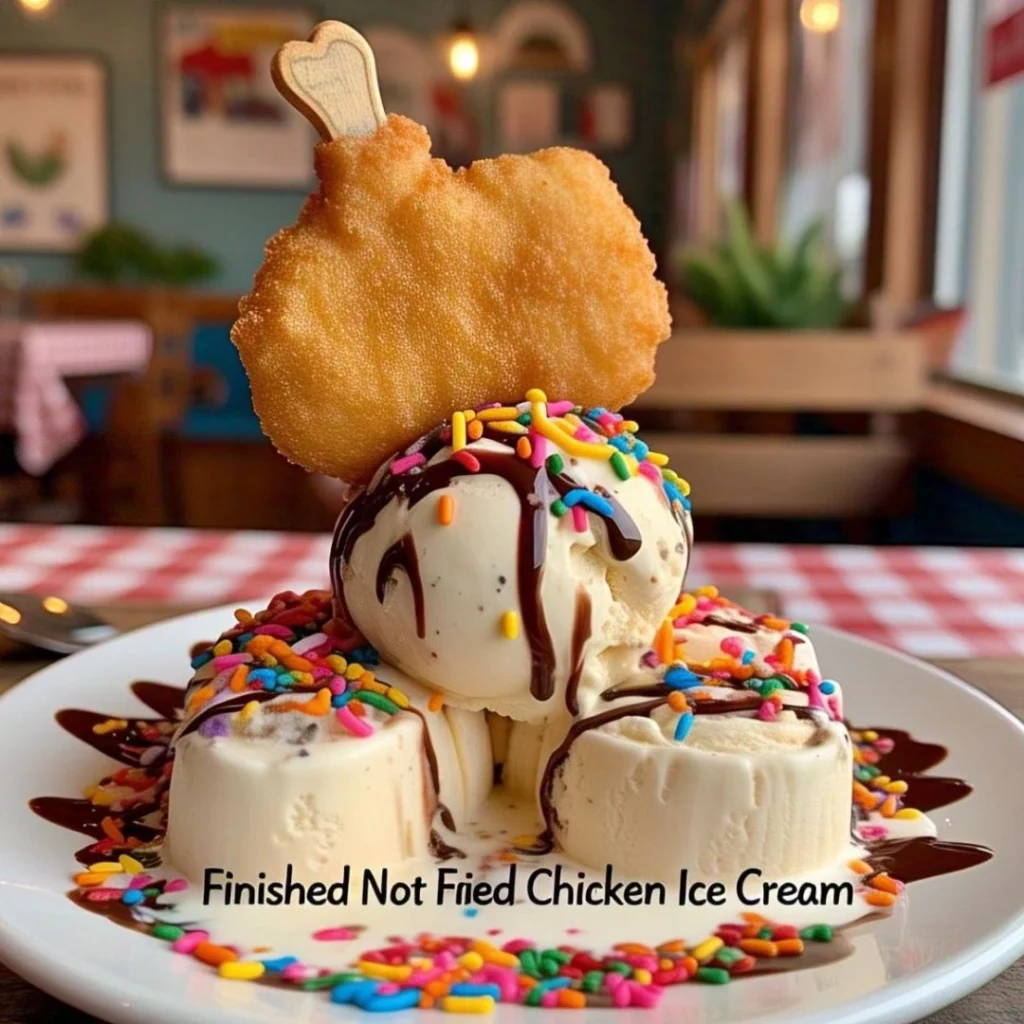
Once frozen, your Not Fried Chicken Ice Cream Recipe is ready to serve! For the best experience, enjoy it straight from the freezer for a crunchy exterior and creamy inside.
Tips and Tricks for the Perfect Fried Chicken Ice Cream Recipe
Best Ice Cream Brands to Use for a Creamy Texture
Choosing the right ice cream is crucial for achieving a smooth, creamy texture in your Not Fried Chicken Ice Cream. Below are some of the best ice cream brands known for their rich, velvety consistency:
- Haagen-Dazs: Known for its luxurious texture and high butterfat content, Haagen-Dazs produces velvety, smooth ice cream that works perfectly for this dessert. Additionally, it holds its shape well once frozen.
- Ben & Jerry’s: With its wide variety of flavors and creamy base, Ben & Jerry’s is another excellent choice. Moreover, its dense texture holds up well during freezing, ensuring the ice cream remains firm.
- Talenti Gelato: For those seeking a more refined, silky texture, Talenti’s gelato offers a rich, smooth consistency that’s perfect for molding into drumsticks. In addition, its creaminess enhances the overall dessert experience.
- Blue Bell: Famous for its classic, rich ice cream, Blue Bell offers a creamy base with great flavor. Furthermore, it’s widely available, making it an easy and reliable option.
- Breyers Natural Vanilla: If you’re looking for a more budget-friendly option, Breyers provides a smooth vanilla flavor without artificial ingredients. As a result, it’s a solid, affordable choice.
When selecting ice cream, always look for options with a higher butterfat content. This ensures a creamier texture. Avoid ice creams that contain too much air, as they tend to be less creamy.
How to Get a Realistic Fried Chicken Look (Not Fried Chicken Ice Cream Recipe)
Achieving a realistic fried chicken look for your Not Fried Chicken Ice Cream requires attention to detail and a few key techniques. Here’s how you can do it:
- Shape the Ice Cream Correctly:
First, shape the ice cream into a drumstick-like form. Begin by using an ice cream scoop to create a round shape, and then gently mold it into the desired form with your hands. To add authenticity, insert a pretzel stick or chocolate-covered biscuit in the center. This will give your dessert a convincing bone-like appearance. - Use White Chocolate as a Base:
Next, dip the shaped ice cream into melted white chocolate. This creates a smooth and glossy layer that resembles fried chicken skin. Not only does white chocolate enhance the visual appeal, but it also helps the crispy coating stick better. - Create the Crispy Coating:
The most crucial step for realism is achieving the perfect crispy outer layer. Use crushed cornflakes or waffle cone crumbs, as they mimic the texture and color of fried chicken skin. Once you’ve dipped the ice cream in white chocolate, coat it generously with the cornflakes, pressing gently to ensure they stick. This adds the realistic crunchy texture. - Freeze the Drumsticks Well:
Finally, freeze the coated drumsticks for at least 1-2 hours. Freezing them for a longer period ensures that the ice cream stays firm, which helps the crispy coating maintain its shape and stay intact when served.
By following these steps, you’ll create an ice cream dessert that looks just like a real fried chicken drumstick.
Storage and Serving Suggestions (Not Fried Chicken Ice Cream Recipe)
Proper storage and serving techniques ensure your Not Fried Chicken Ice Cream Recipe remains fresh and visually appealing. Here’s how to handle it:
- Storage:
After coating the ice cream drumsticks and freezing them, store them in an airtight container or wrap them individually in plastic wrap. This prevents freezer burn and maintains their shape. Keep the drumsticks in the freezer for up to 1-2 weeks. Make sure to place them on a flat surface to avoid any melting or deformation. - Serving:
For the best texture, serve the ice cream straight from the freezer. The outer coating should be crispy, while the inside remains creamy and smooth. If you’d like, you can garnish the dessert with a drizzle of caramel sauce, chocolate syrup, or fresh fruit to add a fun twist. - Presentation:
To enhance the presentation, serve the ice cream drumsticks in a small basket or on a tray lined with parchment paper, resembling the classic look of fried chicken. For a unique touch, you can even serve it with small dipping sauces like chocolate, strawberry, or caramel, just like how you might dip fried chicken into sauces.
By following these storage and serving tips, you’ll keep your Not Fried Chicken Ice Cream Recipe in perfect condition while impressing your guests.
Other Fun Illusion Desserts to Try ( Not Fried Chicken Ice Cream Recipe)
Ice Cream Tacos
Ice cream tacos are a fun, delicious twist on traditional tacos, perfect for a unique dessert. They combine the crispy crunch of a taco shell with the creamy sweetness of ice cream, creating a treat that’s both indulgent and visually exciting. Here’s how to make them:
- Make the Taco Shells:
Begin by using waffle cones or large tortillas. You can bake the tortillas in a taco shell mold or shape them yourself by draping them over a cooling rack and baking them until crispy. For extra flavor, you can dip the edges of the shells in melted chocolate or caramel and then roll them in crushed nuts or sprinkles. - Fill with Ice Cream:
Once your taco shells are ready, scoop your favorite ice cream (or a variety of flavors) into each shell. You can mix and match flavors like vanilla, chocolate, strawberry, or even more adventurous options like cookies and cream or salted caramel. - Top with Toppings:
Just like a traditional taco, ice cream tacos can be topped with a variety of goodies. Try adding whipped cream, chocolate syrup, crushed nuts, sprinkles, or fresh fruit like strawberries, blueberries, or bananas. For extra indulgence, drizzle caramel, fudge, or marshmallow sauce on top. - Serve Immediately:
Ice cream tacos are best enjoyed fresh, as the shell stays crispy while the ice cream is still frozen. Serve them immediately after assembling, so the taco shells maintain their crunch.
Ice cream tacos are a fun and customizable treat that can be enjoyed by people of all ages. Would you like more ideas for taco shell alternatives or different toppings? 😊
Burger-Shaped Cake (Not Fried Chicken Ice Cream Recipe)
A burger-shaped cake is a fun and creative dessert, perfect for themed parties or special occasions. It looks just like a hamburger but is made entirely from cake, frosting, and other sweet ingredients. Here’s how you can make one:
1. Bake the Cake Layers
First, begin by baking two round cakes that will serve as the “buns” of your burger. You can use a round cake pan and any flavor of cake mix or homemade cake batter you prefer. For instance, you might use chocolate cake for the “bottom bun” and vanilla or yellow cake for the “top bun” to create a contrasting look. Once baked, ensure that the cakes cool completely before assembling, as this helps with easier handling.
2. Prepare the “Patty”
Next, prepare the “burger patty” by making a layer of chocolate cake. You can use a small round cake pan or trim one of your larger cakes to fit the size of the burger. Additionally, some bakers choose to use brownies for the patty, which makes it denser and adds a more realistic texture.
3. Assemble the Burger
Once your cakes and patty are ready, start by placing the bottom cake layer on a serving plate. This will be your “bottom bun.” Then, spread a layer of chocolate frosting on top for the “burger patty.” Afterward, add a layer of green frosting or green-tinted coconut flakes to resemble lettuce. To create the cheese, use yellow frosting or fondant. Once these layers are done, place the top cake layer on top to complete your “bun.”
4. Decorate with Details
To make the burger even more realistic, you can add toppings like “tomato” slices made from red-tinted fondant, or “pickles” made from green fondant. Furthermore, for “onions,” you can either use thinly sliced fondant or pipe icing in small curls. Additionally, brushing the edges of the “buns” with light brown or yellow frosting will give them a toasted look, making your cake even more lifelike.
5. Serve and Enjoy
Finally, slice the cake just like a regular cake, but watch as your guests are surprised when they realize it’s not an actual burger! The burger-shaped cake is best served fresh, as the flavors and textures are at their best. It will definitely be a hit at any party.
Customization Ideas
With these steps, you can create a fun and impressive dessert. Furthermore, the burger cake offers endless possibilities for customization. You can even let guests decorate their own “burger” with different toppings, which adds a personalized touch to the experience.
Let me know if you’d like more themed cake ideas or tips! 😊
Sushi Roll Candy (Not Fried Chicken Ice Cream Recipe)
Sushi roll candy is a playful and creative twist on traditional sushi. It mimics the look of real sushi but is made entirely of sweet treats! Whether you’re hosting a themed party or just want to try something fun, this candy version will surely delight. Here’s how to make it:
1. Gather Your Ingredients
First, you’ll need a few basic ingredients to create your candy sushi rolls. These include:
- Fruit roll-ups (to serve as the “seaweed”)
- Rice Krispies treats (to create the “rice”)
- Gummy candy (for the “fish,” like Swedish Fish, orange slices, or gummy worms)
- Candy fruits (to resemble the “vegetables,” such as jelly beans or fruit gummies)
These ingredients come together to create a realistic and delicious sushi roll!
2. Prepare the “Rice” Layer
Next, prepare your Rice Krispies treats. Follow the instructions on the package to make the treats, but be sure to let them cool slightly before working with them. Once they’re cooled down a bit, spread them evenly onto a flat surface lined with parchment paper. Press gently to create a layer that’s about ½ inch thick, which will form the “rice” in your sushi rolls.
3. Assemble the Sushi Rolls
Now, take a fruit roll-up and lay it flat on a clean surface. This will serve as your “seaweed” wrapper. Place the cooled Rice Krispies layer on top of the fruit roll-up, pressing gently to ensure it sticks. Afterward, add your gummy candies (like Swedish Fish) or candy fruits in the center of the rice layer to represent the “fish” or “vegetables.”
Once you’ve arranged your fillings, carefully roll up the fruit roll-up tightly, just like you would with a sushi roll. Be sure to seal the edges so everything stays in place.
4. Slice the Rolls
After assembling the rolls, use a sharp knife to slice them into bite-sized pieces. For a more authentic look, you can dust the edges with powdered sugar. The pieces will resemble small sushi rolls, perfect for serving at your next event or as a fun snack!
5. Serve and Enjoy
Once your sushi roll candy is ready, it’s time to serve! Arrange the pieces on a platter like you would with regular sushi. Additionally, you can serve them with small bowls of chocolate syrup or fruit sauce for a “soy sauce” effect to complete the experience.
Customization Ideas
The great thing about sushi roll candy is that it’s highly customizable! For instance, you can swap out the candy ingredients to suit different tastes, such as using sour gummy worms for a tangy twist or adding chocolate to the rice layer for a richer flavor. Therefore, the possibilities are endless!
Sushi roll candy is a fun, sweet treat that everyone can enjoy. Whether it’s for a party or just a creative snack, it’s sure to be a hit!
Would you like more candy ideas or tips for themed treats? 😊
Conclusion
In conclusion, Not Fried Chicken Ice Cream Recipe is truly a must-try dessert for anyone seeking a unique and fun twist on traditional sweets. Not only does it surprise with its appearance, but the combination of creamy ice cream and crispy coating is absolutely irresistible. It’s a fun conversation starter and perfect for any gathering, bringing both flavor and novelty together.
If you’re feeling adventurous, we highly encourage you to try making it at home! With just a few simple ingredients, you can recreate this viral dessert and share it with your friends and family. Plus, you can always experiment with different ice cream flavors or crispy coatings to put your own spin on it.
Lastly, we’d love to hear from you! Have you tried making Not Fried Chicken Ice Cream Recipe? What variations did you try, or how did you make it your own? Feel free to share your experience or creative twists in the comments below. We can’t wait to see your delicious creations!

