Introduction
Knafeh Chocolate Bar is a beloved dessert with deep roots in Middle Eastern and Mediterranean cuisine, known for its crispy kataifi dough, mild, gooey cheese, and sweet syrup. This decadent treat is often infused with rose or orange blossom water, giving it a floral fragrance that perfectly complements its rich flavors. Traditionally, knafeh is served warm and enjoyed during special occasions, bringing people together over its irresistible sweetness and textures.
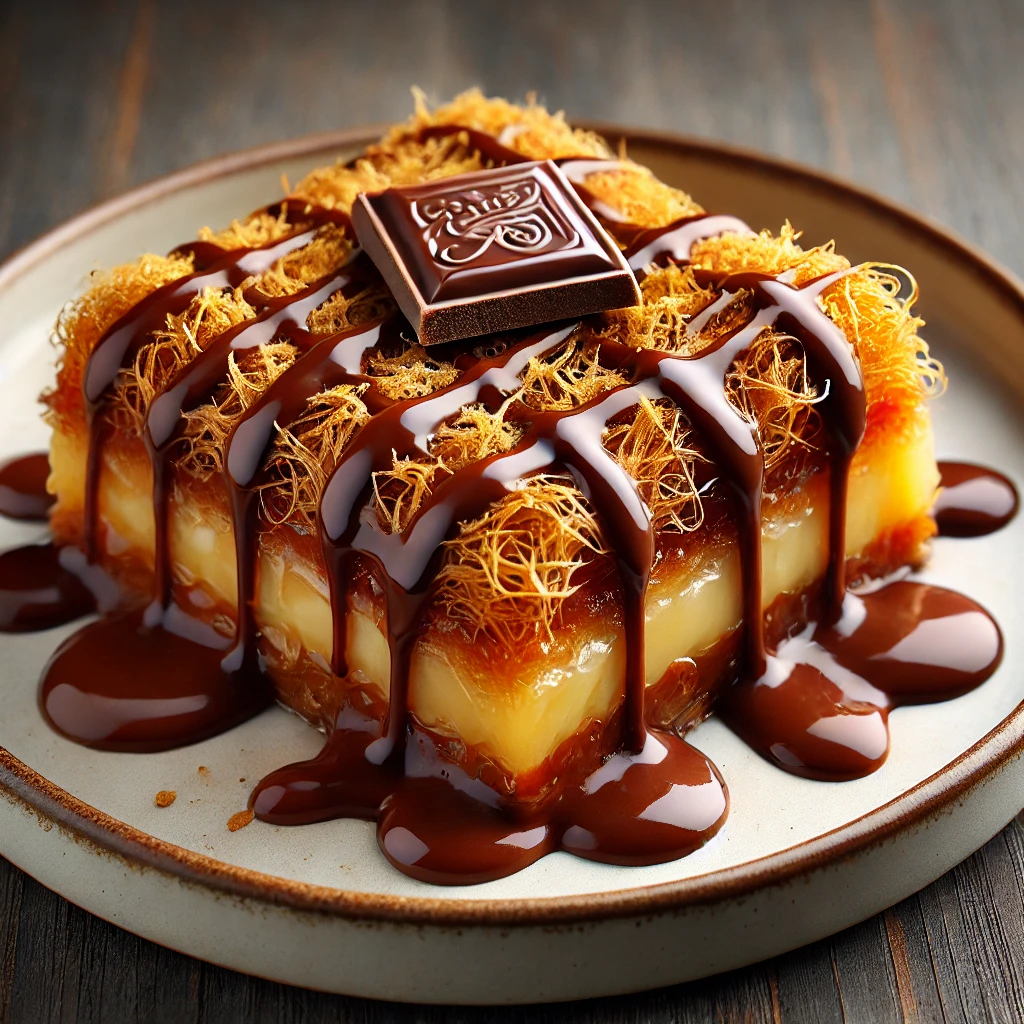
In this recipe, we’re taking knafeh to the next level by adding a modern twist: the knafeh chocolate bar. This fusion combines the traditional flavors and textures of knafeh with the indulgence of melted chocolate, creating a dessert that’s both familiar and exciting. The key ingredients for this delicious treat are kataifi dough, melty cheese, rich chocolate, and a sweet syrup that ties everything together, making it a unique and irresistible dessert.
What is a Knafeh Chocolate Bar?
The Origin of Knafeh: A Rich History of This Middle Eastern Dessert
Knafeh, also spelled kunafa or kanafeh, is a beloved dessert from the Middle East and Mediterranean regions. Historians trace its origins to the Levant, with strong ties to Palestine, Lebanon, Jordan, Syria, and Egypt.
This dessert features shredded kataifi dough layered with soft cheese or semolina custard. Bakers then bake it until golden and crispy before drenching it in sugar syrup infused with rose or orange blossom water. This syrup gives knafeh its signature sweet and floral taste.
Over time, knafeh has evolved with modern variations. Some versions include chocolate, Nutella, and different types of nuts. The knafeh chocolate bar is one such twist, combining crispy layers with rich, melted chocolate. This fusion keeps the essence of traditional knafeh while adding a delicious new flavor.
How Chocolate Enhances Knafeh: The Perfect Pairing of Crunch and Richness
Chocolate adds a delicious twist to traditional knafeh, creating a perfect balance of flavors and textures. The crispy, golden kataifi dough contrasts beautifully with the smooth, melted chocolate, making each bite both crunchy and creamy.
The slight bitterness of dark chocolate helps balance the sweetness of the sugar syrup, preventing the dessert from becoming overly sweet. Meanwhile, milk chocolate brings a creamier, more indulgent taste. Both options complement the buttery, nutty flavor of knafeh, making it even more irresistible.
By blending classic knafeh with chocolate, this version offers a modern take on a beloved dessert. The result is a rich, gooey, and crunchy treat that chocolate lovers and knafeh fans alike will enjoy.
Why You’ll Love This Recipe: A Perfect Balance of Crunchy, Creamy, and Chocolaty Flavors
This knafeh chocolate bar delivers a delicious mix of textures and flavors in every bite. The crispy kataifi dough provides a satisfying crunch, while the melted chocolate and cheese create a rich and creamy contrast. Together, they form an indulgent dessert that feels both comforting and exciting.
Unlike traditional knafeh, this version adds a layer of chocolatey goodness, making it a must-try for both chocolate lovers and knafeh fans. The blend of buttery, nutty, and sweet flavors ensures a balanced taste without being overpowering.
Whether you’re looking for a unique dessert for special occasions or a sweet treat to enjoy at home, this recipe is easy to make and absolutely irresistible.
Ingredients You Need for Knafeh Chocolate Bar
Main Ingredients: The Key to a Perfect Knafeh Chocolate Bar
To make a delicious knafeh chocolate bar, you’ll need a few essential ingredients that create the perfect balance of crispiness, creaminess, and sweetness.
- Kataifi Dough – This finely shredded phyllo dough gives knafeh its signature crispy texture. It absorbs butter well, resulting in a rich, golden crust.
- Mozzarella Cheese – A mild, stretchy cheese that melts beautifully, adding a creamy contrast to the crunchy layers. You can also mix it with ricotta for extra creaminess.
- Dark Chocolate – The rich, slightly bitter flavor of dark chocolate balances the sweetness of the syrup. Milk chocolate is another option for a smoother, sweeter taste.
- Butter – Melted butter coats the kataifi dough, helping it crisp up perfectly while adding a rich, buttery flavor.
- Sugar Syrup – A simple mix of sugar, water, and a touch of rose or orange blossom water. This syrup brings the signature Middle Eastern sweetness to the dessert.
These ingredients come together to create a delightful fusion of textures and flavors in every bite!
Optional Additions: Enhance Flavor and Texture
Want to take your knafeh chocolate bar to the next level? Try adding these ingredients for extra crunch, richness, and depth of flavor:
- Pistachios – Crushed pistachios add a nutty crunch and vibrant green color, making the dessert more visually appealing and flavorful.
- Milk Chocolate – If you prefer a sweeter, creamier taste, replace dark chocolate with milk chocolate for a smoother and more indulgent experience.
- Semolina – Mixing a little semolina with the cheese filling creates a slightly firmer texture, adding more structure to the dessert.
These optional ingredients allow you to customize your knafeh chocolate bar based on your taste preferences, making it even more delicious!
Best Chocolate to Use: Dark vs. Milk Chocolate – Which One Works Best?
Choosing the right chocolate for your knafeh chocolate bar can make all the difference in taste. Both dark and milk chocolate bring something unique to the dessert, so it depends on the flavor profile you’re aiming for.
- Dark Chocolate – For those who love a slightly bitter, bold flavor, dark chocolate is the perfect choice. Its richness balances out the sweetness of the sugar syrup and enhances the crispiness of the kataifi dough. The contrast between dark chocolate and the creamy cheese filling adds complexity and depth.
- Milk Chocolate – If you prefer a sweeter, creamier dessert, milk chocolate is the way to go. It melts beautifully into the cheese and dough, creating a smooth, indulgent treat. Milk chocolate pairs well with the buttery texture and adds a touch of luxurious sweetness.
For a perfect balance, you could even combine both types of chocolate to create a layered effect with both richness and sweetness. Experiment with your choice to find the ideal match for your taste!
Step-by-Step Guide to Making Knafeh Chocolate Bar
Preparing the Kataifi Dough: How to Shred, Butter, and Layer the Dough Properly
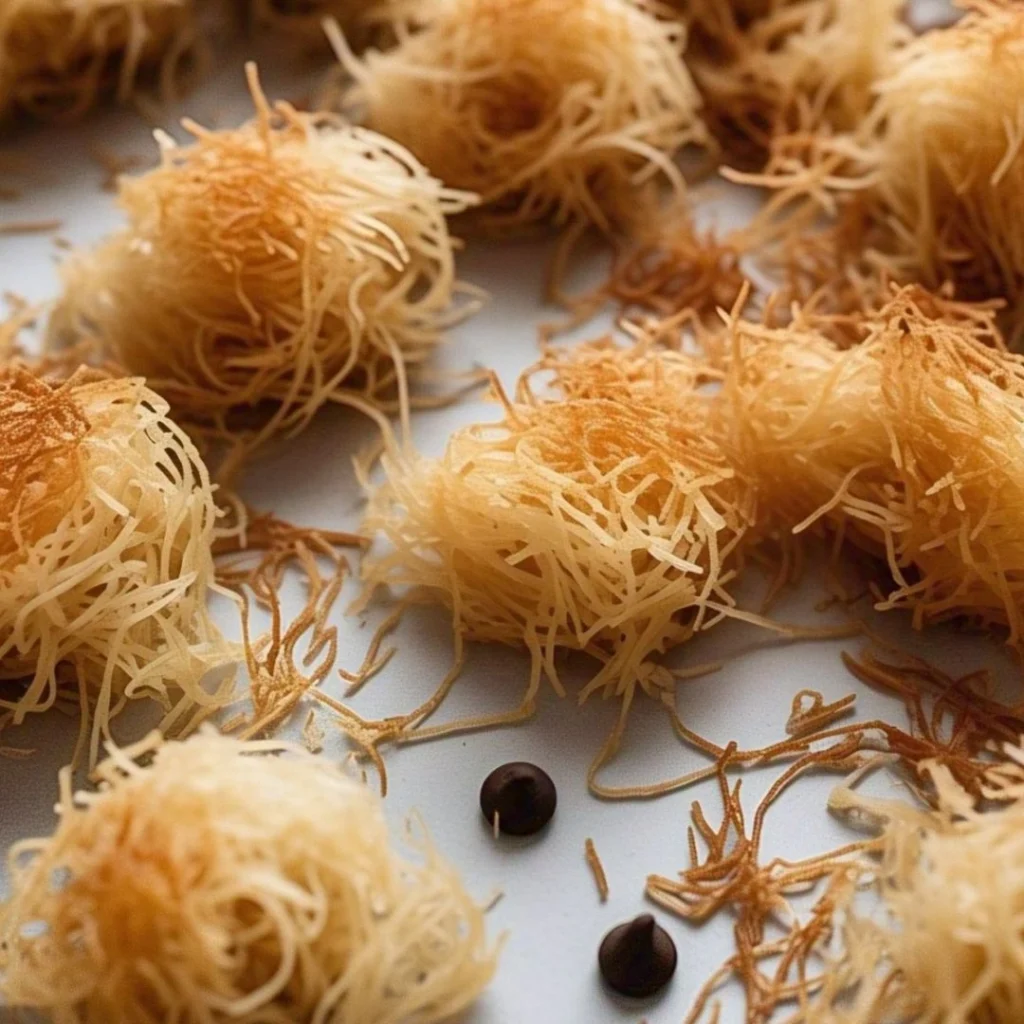
Getting the kataifi dough right is essential for achieving that perfect crispy texture in your knafeh chocolate bar. Here’s how to prepare it:
- Shred the Kataifi Dough:
Start by carefully unrolling the kataifi dough. It’s typically sold in long, coiled strands. Gently shred the dough into smaller, manageable pieces. This will help you layer it evenly and create that signature crispiness. - Butter the Dough:
To achieve a golden, crispy finish, butter each layer of dough generously. Melt your butter and use a brush to coat the shredded dough evenly. The butter will give the kataifi dough its rich, flaky texture and ensure it crisps up perfectly during baking. - Layer the Dough:
Layer the buttered dough into your baking dish, pressing it gently as you go to ensure it’s compact but not too dense. Begin by adding a layer of dough at the bottom, followed by a layer of your cheese and chocolate filling. Repeat this process, adding another layer of dough on top of the filling. Make sure to press down lightly after each layer to keep the dough even, but don’t overpack it.
By following these steps, you’ll create crispy, golden layers that will form the perfect base for your knafeh chocolate bar.
Assembling the Layers: Adding Cheese, Chocolate, and More Dough for the Perfect Texture
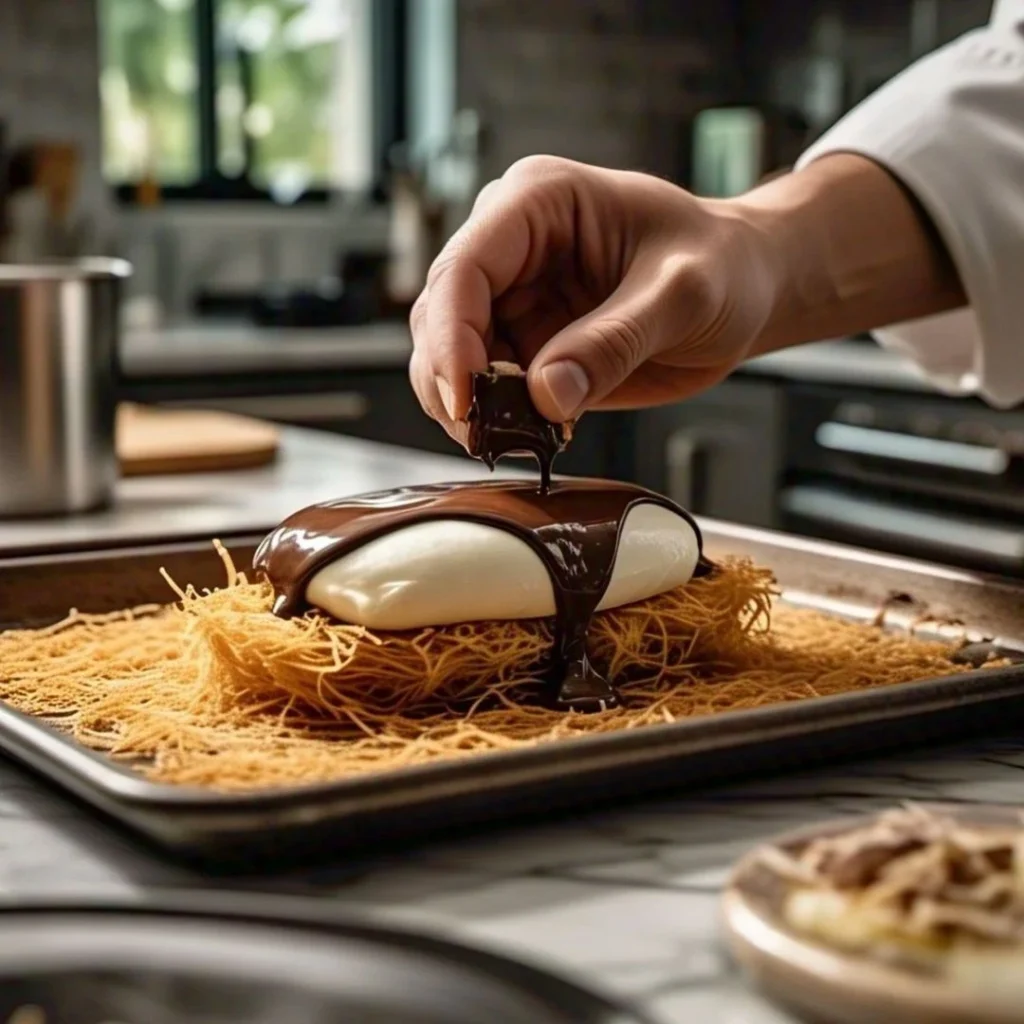
Once you’ve prepared the kataifi dough, it’s time to assemble the layers. This is where the magic happens! Here’s how to layer everything for a perfect texture:
- Add the Cheese Layer:
After placing the first layer of buttered kataifi dough, spread a generous layer of mozzarella cheese (or a cheese blend) on top. The cheese should be soft, stretchy, and evenly distributed. You can also add a mix of ricotta for extra creaminess if you like. - Layer the Chocolate:
Next, add your chocolate layer. Whether you’re using dark or milk chocolate, chop it into small pieces or melt it for a smoother texture. Pour or sprinkle the chocolate over the cheese, making sure to cover it evenly. The chocolate will melt and blend perfectly with the cheese as it bakes. - Top with More Dough:
Once your cheese and chocolate layers are in place, cover them with another layer of buttered kataifi dough. Press it down gently but evenly. This final layer of dough will create the crispy golden topping that’s so characteristic of knafeh. Make sure to evenly distribute the dough to avoid uneven baking.
Baking & Syrup Drizzling: Achieving the Golden-Brown Crisp and the Right Syrup Consistency
Now that your layers are assembled, it’s time to bake and finish with syrup!
- Baking to Perfection:
Preheat your oven and bake the assembled knafeh at a high temperature (usually around 375°F / 190°C) for about 30-40 minutes. Keep an eye on it, and bake until the top is golden-brown and crispy. The kataifi dough should puff up slightly, and the edges will crisp up beautifully. - Making the Sugar Syrup:
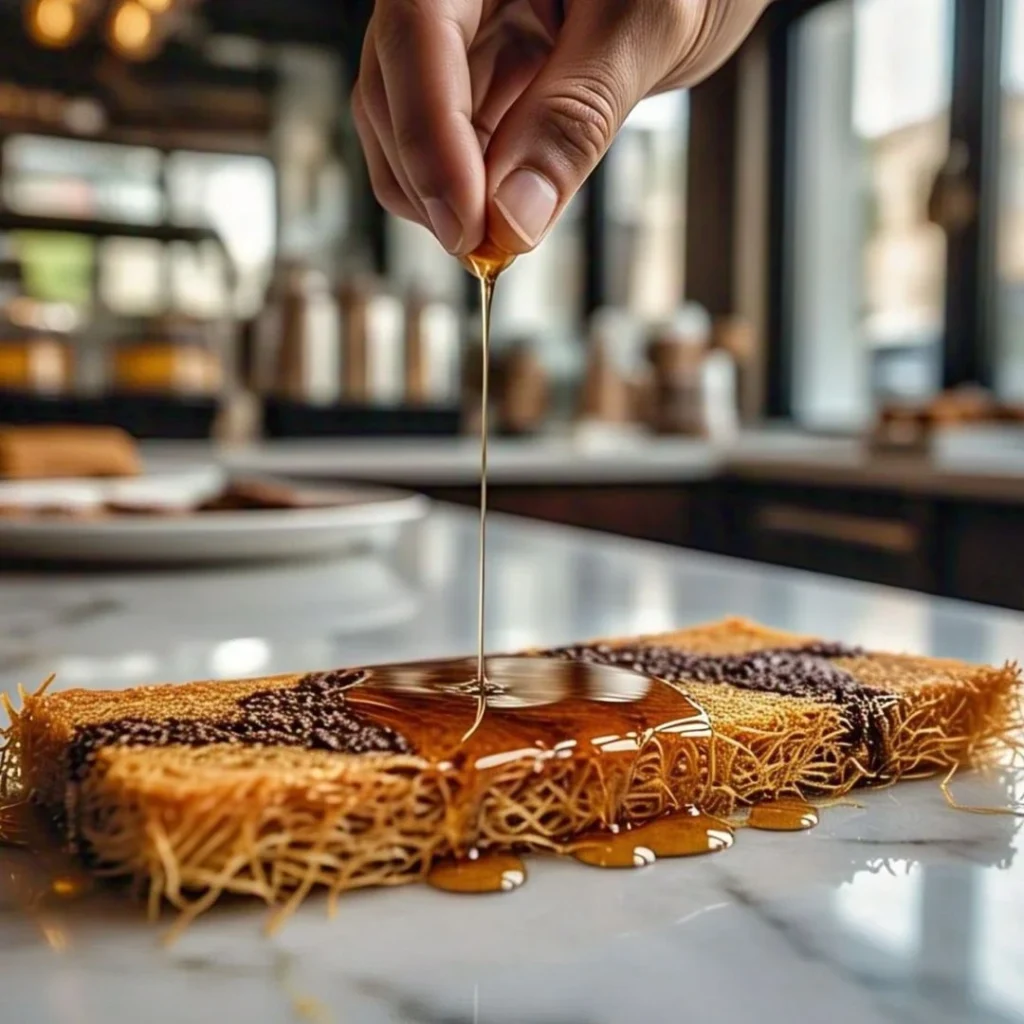
While the knafeh is baking, prepare your sugar syrup. Combine water, sugar, and a splash of lemon juice in a saucepan. Bring it to a simmer and cook for about 10-15 minutes until it thickens slightly. Add a few drops of rose or orange blossom water for a traditional Middle Eastern flavor. - Drizzling the Syrup:
Once the knafeh is done baking, remove it from the oven and immediately drizzle the hot syrup over the dessert. The syrup should be thick but pourable so it soaks into the crispy layers without making them soggy. Let the syrup soak in for a few minutes before cutting into it.
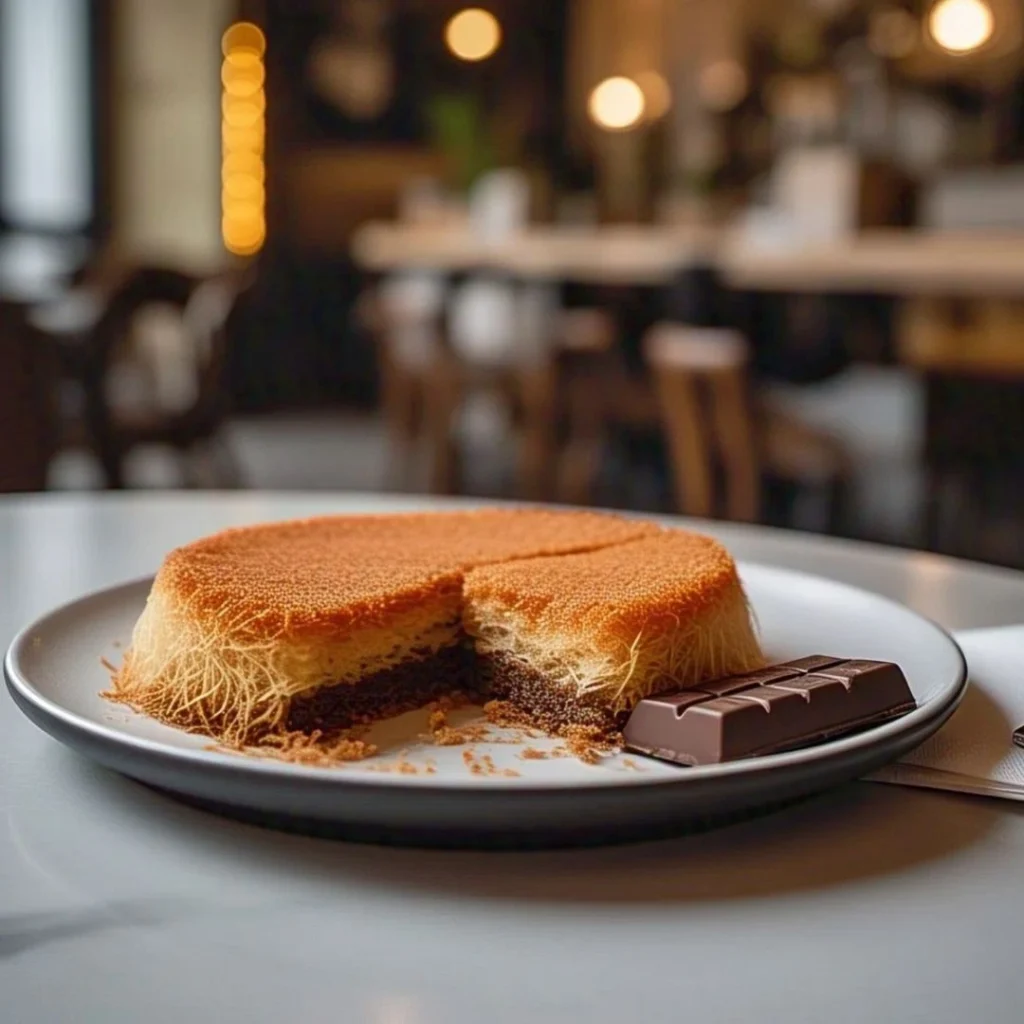
By following these steps, you’ll achieve the perfect balance of crispy, golden dough and gooey, chocolatey filling, with just the right amount of sweetness from the syrup.
Tips for the Best Knafeh Chocolate Bar
Achieving the Perfect Crunch: How to Get the Kataifi Crispy, Not Soggy
To ensure your knafeh chocolate bar has the perfect crispy texture, focus on these key steps:
- Use Enough Butter:
Butter is essential for achieving that crispy, golden-brown crust. Be sure to brush each layer of kataifi dough with enough melted butter. Don’t be afraid to use a generous amount, as it helps the dough crisp up and prevents it from becoming soggy. - Layer Evenly and Don’t Overcrowd:
When layering the dough, avoid packing it too tightly. Leave some space between the layers to allow the heat to circulate evenly, creating a light, airy texture. - Bake at the Right Temperature:
Make sure your oven is preheated to the correct temperature, usually 375°F (190°C). A high temperature is essential for crisping the kataifi dough quickly. If the heat is too low, the dough may cook unevenly and turn soggy.
Balancing Sweetness: Tips for Adjusting the Sugar Syrup and Chocolate Ratio
Striking the right balance between sweetness and richness is key to making a perfect knafeh chocolate bar. Here’s how to adjust:
- Adjust Sugar Syrup Sweetness:
The sugar syrup should be sweet but not overpowering. If you prefer a less sweet dessert, reduce the amount of sugar or increase the water slightly. Add a pinch of salt to the syrup to balance out the sweetness and enhance the overall flavor. - Choose the Right Chocolate:
Dark chocolate offers a more bitter contrast to the syrup, while milk chocolate adds a creamier sweetness. You can mix both types of chocolate to find the perfect balance of chocolatey richness and sweetness. - Layering the Syrup:
When drizzling syrup over your knafeh, start with a light hand and add more as needed. This will prevent the dessert from becoming overly sweet or soggy. Allow the syrup to soak into the layers, but don’t overdo it—just enough for a moist, flavorful finish.
Serving & Storing: Best Ways to Serve Warm and Store Leftovers
To get the most out of your knafeh chocolate bar, follow these serving and storage tips:
- Serving Warm:
Knafeh is best served warm right after drizzling the syrup. The crispy top and gooey chocolate filling are most delicious when fresh out of the oven. Cut it into small squares or bars and serve with a scoop of vanilla ice cream or a dollop of whipped cream for added indulgence. - Storing Leftovers:
If you have leftovers, let them cool completely before storing. Place the knafeh in an airtight container and refrigerate for up to 3-4 days. To reheat, pop it in the oven at a low temperature (about 300°F / 150°C) for 10-15 minutes, just until the top crisps up again. - Freezing:
You can also freeze knafeh for up to 2 months. Wrap the individual pieces tightly in plastic wrap or foil, and place them in a freezer-safe container. When ready to enjoy, thaw it in the fridge overnight and reheat it in the oven for the best texture.
By following these tips, you’ll ensure your knafeh chocolate bar stays fresh, flavorful, and crispy, no matter when you enjoy it!
FAQs About Knafeh Chocolate Bar
1. Can I Use Phyllo Dough Instead of Kataifi?
Yes, you can use phyllo dough as a substitute for kataifi dough, but the texture will be slightly different. Phyllo dough is thinner and more delicate, so it won’t create the same shredded, stringy effect as kataifi. However, you can still achieve a crisp and flaky texture by layering the phyllo dough and buttering each sheet generously. It will result in a slightly lighter, more delicate crunch compared to the traditional kataifi dough, but still delicious!
2. What’s the Best Cheese for Knafeh?
The traditional cheese for knafeh is a mild, stretchy cheese that melts well. The most common options are:
- Mozzarella – Its mild flavor and excellent melting properties make it an ideal choice.
- Akkawi Cheese – A traditional Middle Eastern cheese that’s slightly salty and soft.
- Ricotta – Often mixed with mozzarella for added creaminess. For the best results, mix mozzarella with a bit of ricotta or Akkawi for the perfect balance of creaminess and texture.
3. Can I Make Knafeh Chocolate Bars Ahead of Time?
Yes, you can make knafeh chocolate bars ahead of time! Here’s how:
- Assemble the layers (with the cheese and chocolate) and cover the dish tightly with plastic wrap or foil.
- Refrigerate for up to 24 hours before baking.
- When ready to bake, let it sit at room temperature for a few minutes to avoid any temperature shock, and then bake as directed.
Alternatively, you can bake it ahead of time and store it in the fridge. When serving, simply reheat in the oven at a low temperature (around 300°F / 150°C) to regain that crispy texture.
Conclusion
The knafeh chocolate bar is an exciting dessert that beautifully blends the crispy, buttery texture of kataifi dough with the richness of melted chocolate and the creamy goodness of cheese. This modern twist on a traditional Middle Eastern classic offers a delightful fusion of flavors and textures that are sure to impress anyone who tries it.
We encourage you to try making this delicious treat at home and share your experience! Whether you’re a long-time fan of knafeh or a newcomer to this dessert, the knafeh chocolate bar is a fun and indulgent way to enjoy the flavors of the Middle East with a modern spin.
Don’t forget to follow our blog for more unique dessert recipes and exciting twists on your favorite sweets. We love sharing creative and delicious ideas to inspire your next baking adventure!

1 thought on “How to Make a Delicious Knafeh Chocolate Bar at Home”